自定义Hexo
概述
给Hexo添加一些新功能,例如图片预览,评论支持等等。
图片预览
进入到博客根目录
1
$ cd blog
克隆图片预览插件到next主题(对应博客主题)的
source/lib目录下1
$ git clone https://github.com/theme-next/theme-next-fancybox3 ./themes/next/source/lib/fancybox
修改主题的
_config.yml文件,启用fancybox1
fancybox: true
重新启动hexo即可预览博客内容中的图片
1
$ hexo clean && hexo g
评论支持
Gitalk是一个基于Github Issue和Preact的评论组件。next主题默认是支持Gitalk的,在next主题中使用Gitalk需要先进行一些额外的配置
在自己的github账户中创建一个OAuth application
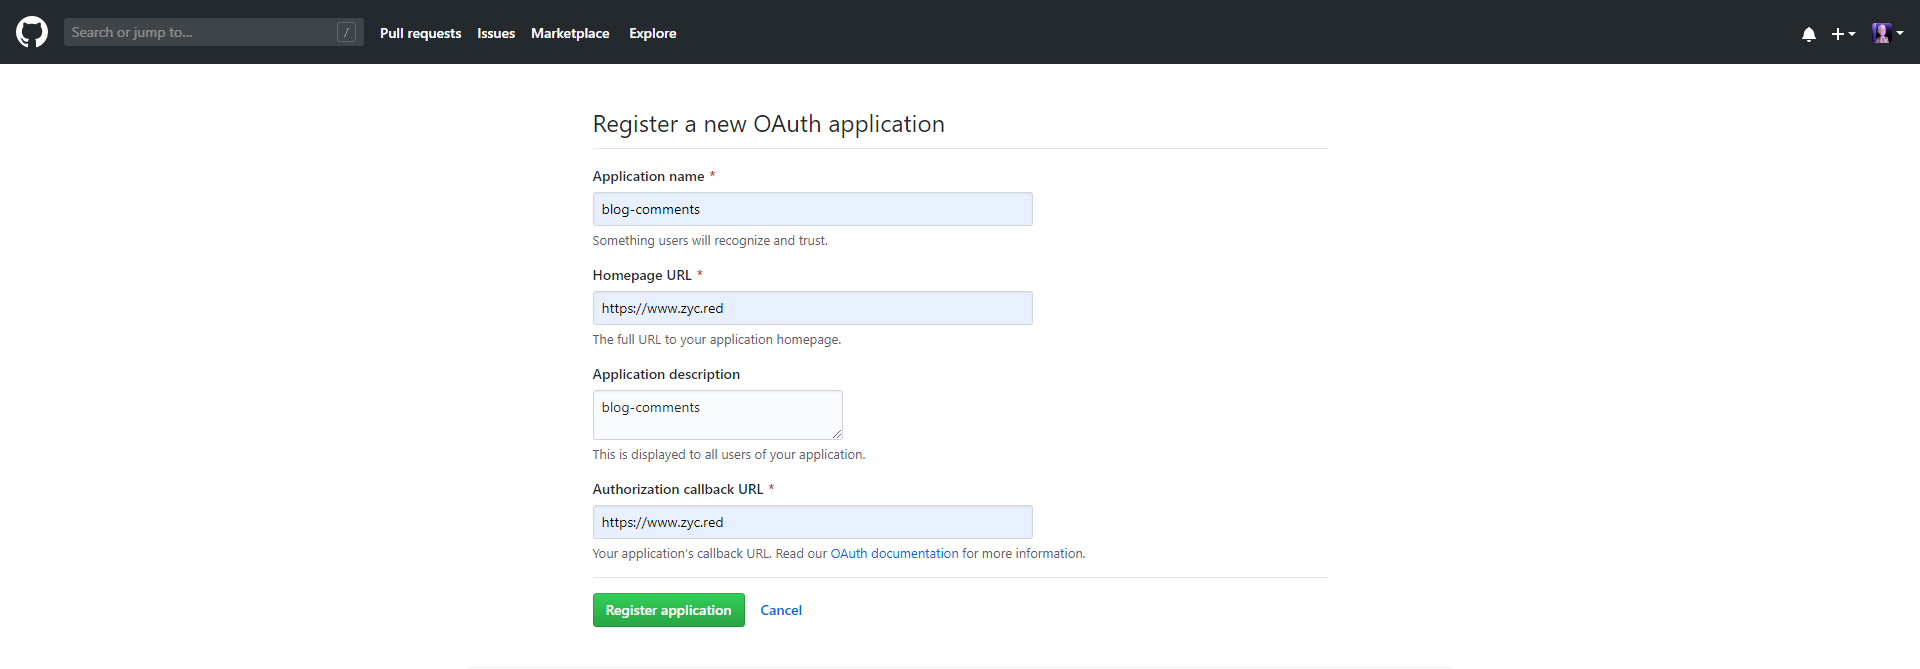
其中
Authorization callback URL和Homepage URL填自己的博客域名,application新建后会生成Client ID和Client Secret记下来,等会配置next主题需要用到。创建一个github公共的仓库,通过这个仓库的issues来存放博客的评论。
修改next主题的_config.xml文件
1
2
3
4
5
6
7
8
9
gitalk:
enable: true # 启用gitalk
github_id: Allurx # github昵称
repo: blog-comments # 新建的仓库名称
client_id: xxx # OAuth application的client_id
client_secret: xxx # OAuth application的client_secret
admin_user: Allurx # 能够开启issue的用户,填自己的github昵称
distraction_free_mode: true
language: zh-CN # 语言重启hexo后即可看到Gitalk
注意Gitalk必须登录github才能评论,并且每一篇博客的Gitalk都需要自己开启,一般只需要让浏览器记住账号密码然后点开文章就能初始化文章的Gitalk
背景动画canvas-nest
进入到博客根目录
1
$ cd blog
克隆canvas-nest插件到next主题(对应博客主题)的
source/lib目录下1
$ git clone https://github.com/theme-next/theme-next-canvas-nest ./themes/next/source/lib/canvas-nest
修改主题的
_config.yml文件,启用canvas-nest1
2
3
4
5
6
7
8
9
10# Canvas-nest
# Dependencies: https://github.com/theme-next/theme-next-canvas-nest
# For more information: https://github.com/hustcc/canvas-nest.js
canvas_nest:
enable: true
onmobile: true # Display on mobile or not
color: "0,0,255" # RGB values, use `,` to separate
opacity: 0.5 # The opacity of line: 0~1
zIndex: -1 # z-index property of the background
count: 99 # The number of lines重新启动hexo即可看到背景动画
1
$ hexo clean && hexo g